

If other people use your Linux PC from time to time, you can hide files and folders from prying eyes. But if they know the obvious way to view hidden files, you can use a more secretive method: compress those files and hide them in an innocent looking image file.
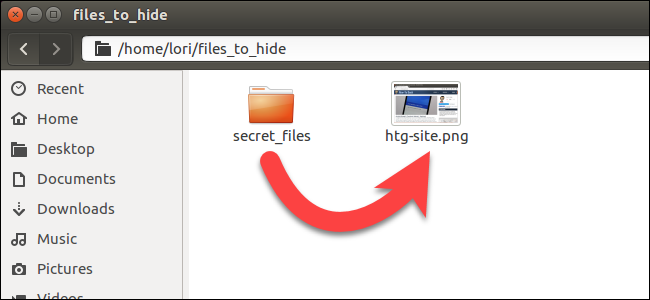
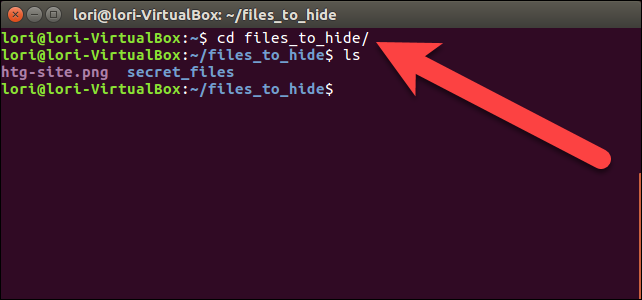
Before we begin, create a directory containing an image file (.png or .jpg), and the file or directory you want to hide. For our example, we are going to hide a directory of files, called secret_files. Our original image file is htg-site.png. Use the cd command to change to the directory containing the image and the file or folder to be hidden.
cd files_to_hide/
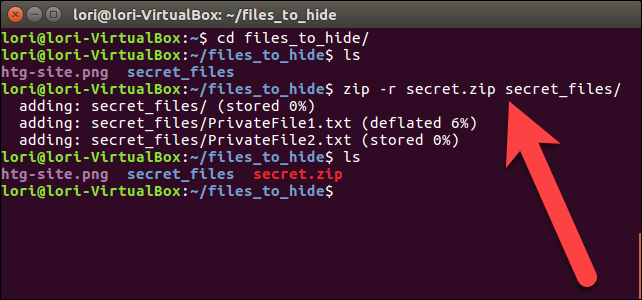
We will create a compressed file containing the directory we want to hide in the image. To do this, we type the following command at the prompt and press Enter.
zip -r secret.zip secret_files/
In the above command, -r will include all subdirectories within the specified directory in the compressed file. The name of the compressed file is secret.zip and the name of the directory to be compressed is secret_files.
When you are returned to the command prompt, type ls and press Enter. You will see the secret.zip file (or whatever you named your compressed file) listed.
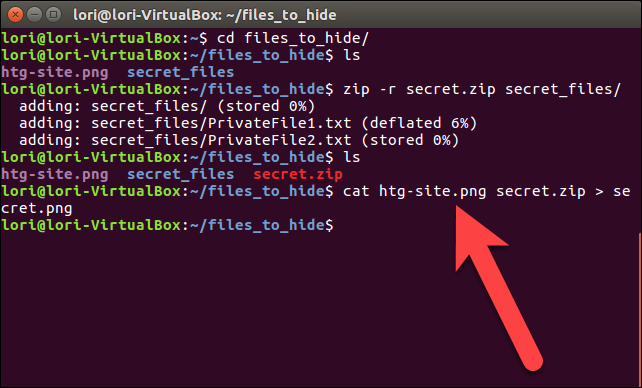
Now, we’re going to concatenate the compressed file and image file, and save that as a new image file using the cat command. In our example, we type the following command at the prompt and press Enter.
cat htg-site.png secret.zip > secret.png
The original image file must be listed first before the name of the compressed file you want to insert into the image file. Then, we direct (>) the original image file and the compressed file into a new image called secret.png .
When you use the ls command at the prompt, you’ll see the new image file, secret.png , that is hiding the compressed file. You can display the new image using any image viewer or editor. An easy way to view the image is to double-click on it in Nautilus. It will automatically open in the default image viewer.
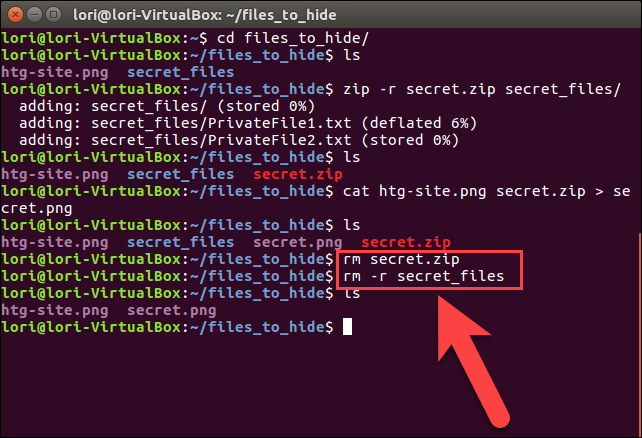
Once you have your new image that is hiding your file or folder, you can delete the compressed file and original file or folder, using the rm command. In our example, we typed the following two commands to delete our compressed file and original folder.
rm secret.zip
rm -r secret_files
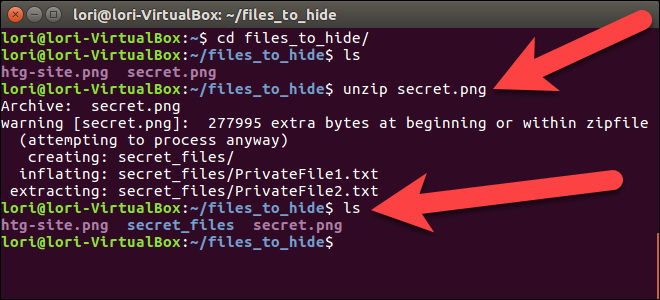
To access the hidden file or folder again, make sure you’re in the directory containing the image in which your file or folder is hidden. Then, extract the file or folder from the image by typing the following command and pressing Enter.
unzip secret.png
Substitute the name of your image file for secret.png in the above command.
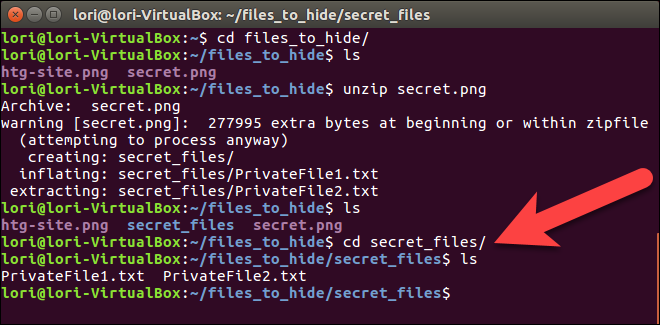
Our secret_files directory is available again, and when we change to that directory ( cd secret_files/ ), and list the files ( ls ), we see our original files.
This is not necessarily the most secure way to protect your files. It just makes them less obvious to someone poking around your system. You can encrypt your zip files to make them more secure.
Related Links:-
How to hide zip files inside an image in Windows
Share this

EmoticonEmoticon